

Installation
KoNiMa Claude Sync is an extension for Visual Studio Code. Installing it takes a few minutes; right after, you move on to the first launch and setup to activate your license and connect your repository.
Prerequisites
Before you begin, make sure you have:
- Visual Studio Code 1.90 or later, on Windows, macOS or Linux. The extension runs natively on all three systems, with no add-on components.
- Git available on your
PATH. - Claude Code installed: it is what Claude Sync syncs.
- Node.js on your
PATH, if you also want to sync while VS Code is closed or use sessions across machines. Memories from the claude-mem plugin need Node.js 23.4 or later. - A private, empty git repository dedicated to syncing, on GitHub, GitLab, Gitea, Azure DevOps or any server reachable over HTTPS, with a personal access token that has read and write permissions. You connect it on first launch.
- A KoNiMa Claude Sync license. There is no free version, but you can request a trial right from the extension.
The dashboard’s System check verifies Git, Node.js, Claude Code and the other requirements for you.
Install the extension
You can install the extension from the store or from a file:
- From the store: in the VS Code Extensions view, search for Claude Sync — KoNiMa and click Install.
- From a VSIX: open the Extensions view, choose Install from VSIX… from the
…menu and select thekonima-claude-sync-<version>.vsixfile. From a terminal, the equivalent iscode --install-extension konima-claude-sync-<version>.vsix.
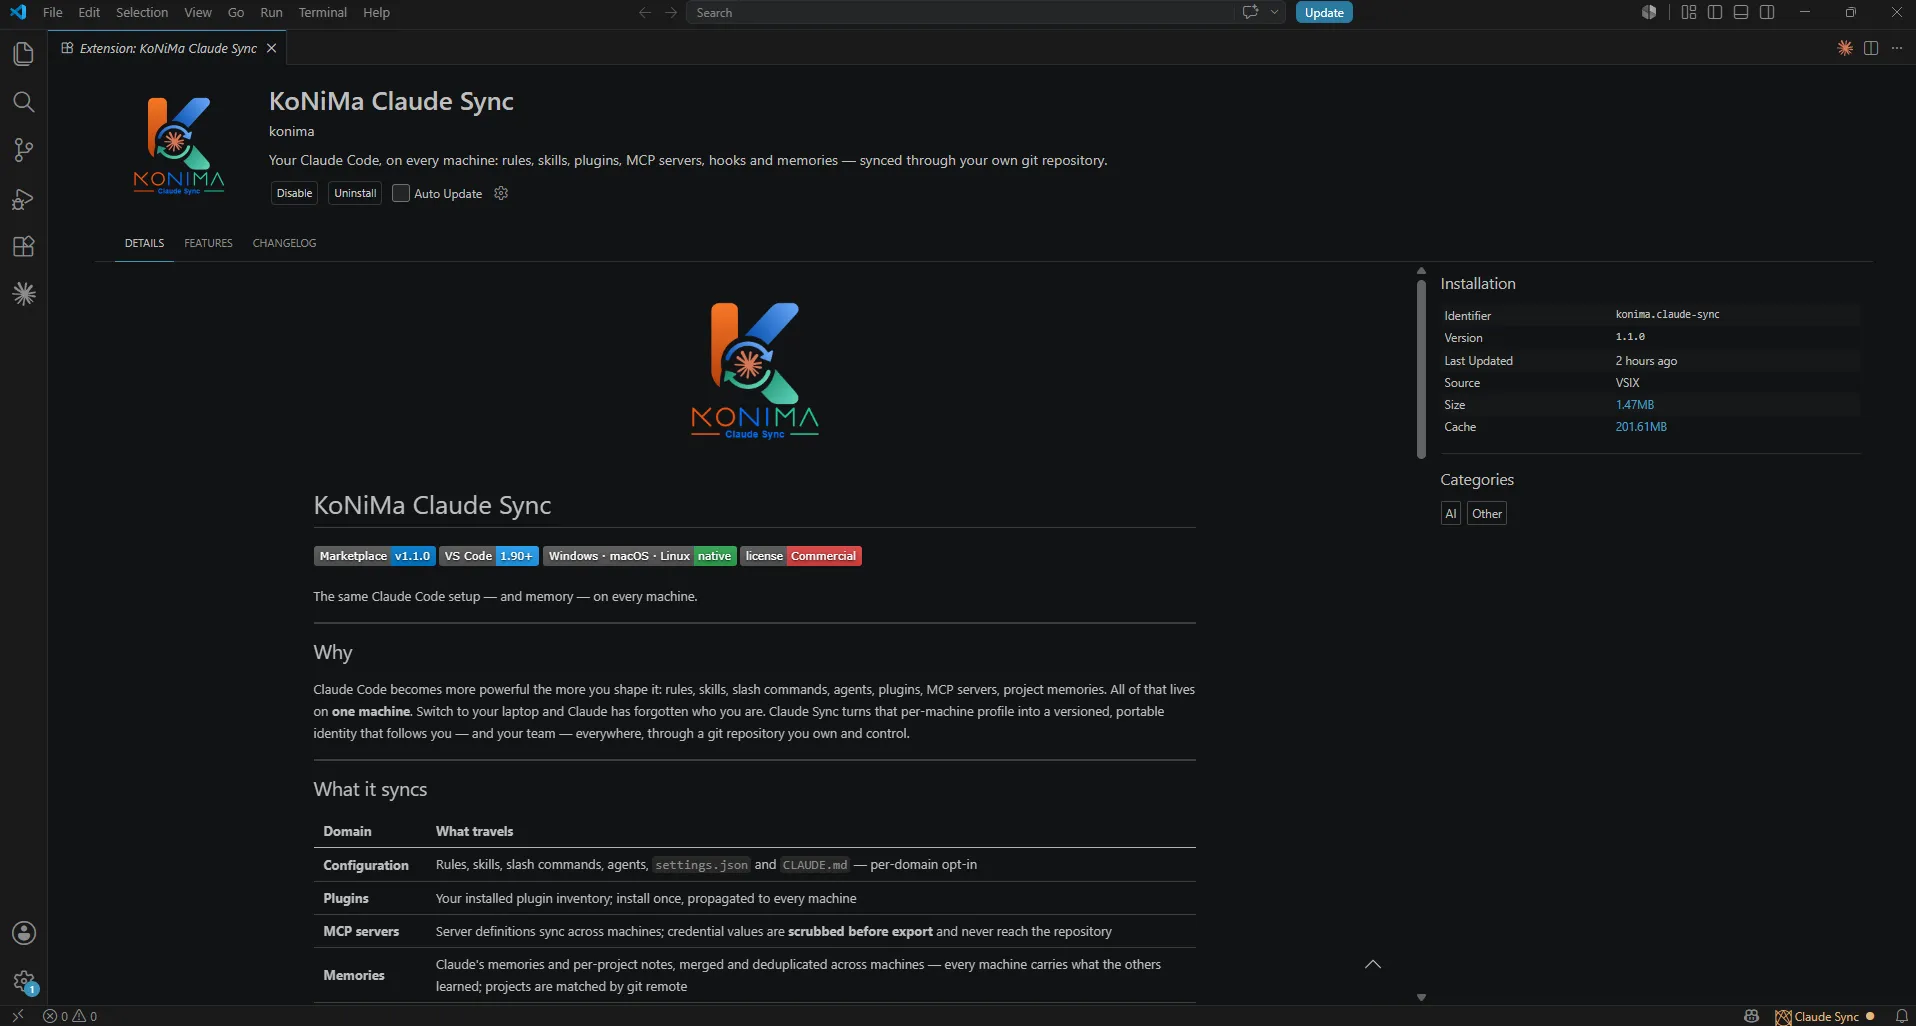 The extension page in the VS Code store: click Install here.
Once installed, the extension activates when VS Code starts and, the first time, opens the setup dashboard on its own (you can change this with the Open on startup checkbox at the bottom of the dashboard). Updates arrive from the store, like any other extension: you don’t hand the VSIX out to your team.
If you want to try upcoming features early, open the extension’s page in the Extensions view and click Switch to Pre-Release Version; Switch to Release Version takes you back to the stable version.
Next step
With the extension installed, continue with the first launch and setup to activate your license, connect your repository and run the first sync.
Uninstalling
To remove the product from a machine completely:
- Open the Command Palette and run Claude Sync: Remove Local Data (Uninstall). Once you confirm, Claude Sync frees the machine’s seat, deletes the local copies and backups, removes the credentials and the license, and takes out of Claude’s settings the entries it had added. Your settings, commands and memories stay where they are. If the machine has items that came from the team, you can remove them along with Claude Sync or keep them: see Removing Claude Sync from the machine.
- Uninstall the extension from the VS Code Extensions view.
If you only want to stop syncing this machine without uninstalling, see Leaving the team or removing the license.