

First launch and setup
You’ve installed the extension: now you put it to work. In a few minutes you activate your license, connect your git repository and sync your first machine. Everything happens from the dashboard, which opens on its own on first launch.
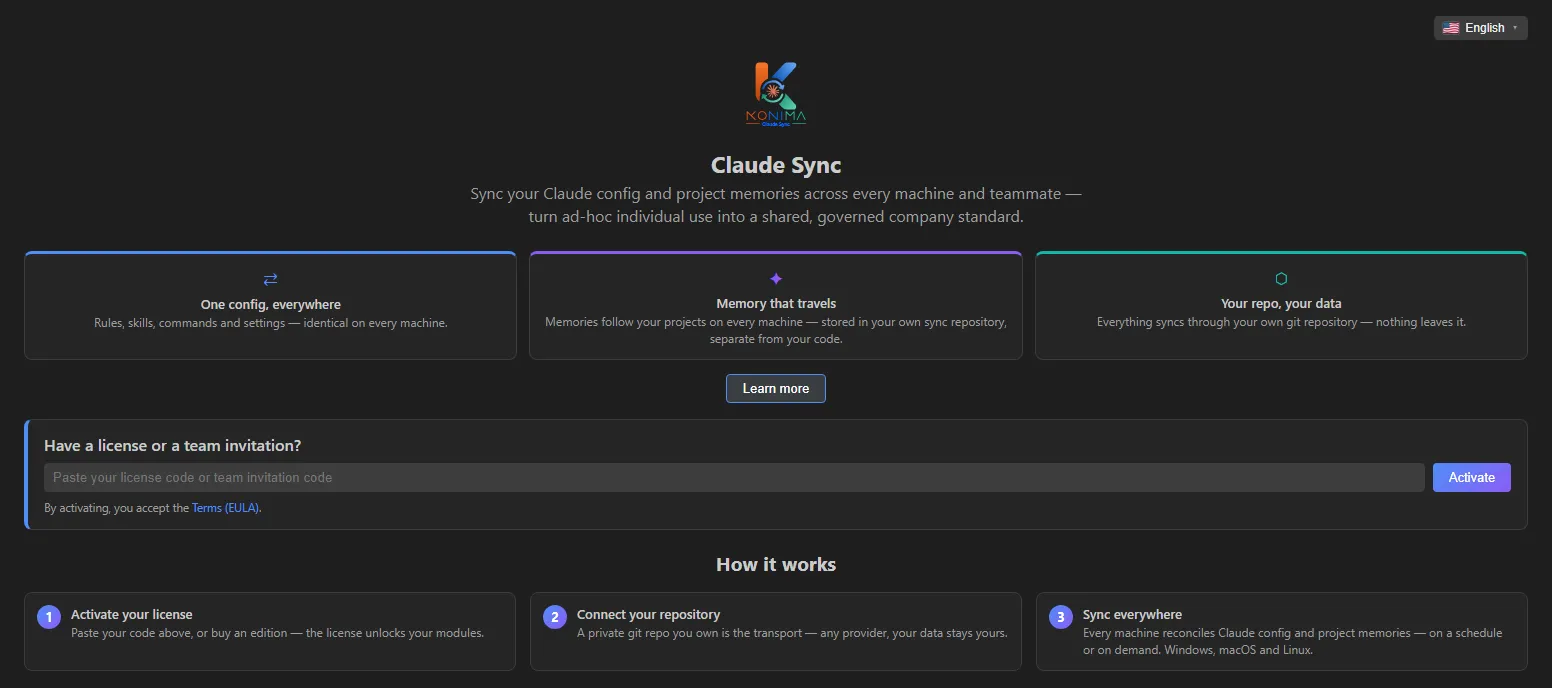 The first-launch screen: paste your license code or team invitation here.
How to set up Claude Sync on a machine
-
Activate your license, join your team or request a trial.
Without a license, the dashboard shows the available editions and the Have a license or a team invitation? panel. You have two paths:
Paste the code into the Paste your license code or team invitation code field and click Activate.
- With a license code, the license is verified online and activated.
- With a team invitation code (it starts with
KNMI-), the Join the team window opens: it activates the team license and connects the repositories in a single step (see below).
In the Choose your edition section, on the card of the edition you want, click Try it free (or Try free for N days), fill in the form and click Send request. No credit card needed.
-
Prepare the repository.
Syncing goes through your git repository. The What to prepare section of the dashboard reminds you what you need:
- a private, empty repository, used only for syncing, on your git server (GitHub, GitLab, Gitea, Azure DevOps or any server reachable over HTTPS);
- a personal access token with read and write permissions on that repository;
- the repository’s HTTPS URL.
-
Connect the repository.
In the One more step — connect your sync repository. section, fill in:
- Your name (identifies your changes) and Email (for commit attribution), which sign the changes you send;
- Repository URL, Username (not every server needs it) and Access token or password.
Click Connect. Claude Sync checks that the repository is reachable, saves your credentials in the system keychain and opens the dashboard, ready to use.
-
Sync.
Click Sync now at the top right. From here on, syncing starts on its own.
-
Repeat on the next machine.
Install the extension, activate the same license and connect the same repository: the second machine receives the first machine’s configuration.
After setup
The dashboard shows the tabs your edition includes: Overview, Claude system, Machines, Projects and
the others. The sync status is always visible in the status bar at the bottom (Claude Sync) and
at the top of the dashboard.
- What it syncs: what travels between machines.
- The dashboard: every tab, one by one.
- Troubleshooting: if something doesn’t look right.